共计 3760 个字符,预计需要花费 10 分钟才能阅读完成。
高并发网站架构的核心原则其实就一句话“把所有的用户访问请求都尽量往前推“,即:
1、能缓存在用户电脑本地的,就不要让他去访问CDN。
2、能缓存CDN服务器上的,就不要让CDN去访问源(静态服务器)了。
3、能访问静态服务器的,就不要去访问动态服务器。
以此类推:能不访问数据库和存储就一定不要去访问数据库和存储。
Nginx内置FastCgi缓存,但是不支持自动清除缓存。当你在Wordpress里面新建/修改一篇文章,或者访客提交评论的时候,自动清空相关的缓存是必要的!Nginx需要安装ngx_cache_purg+量身定做的WordPress缓存清理插件:Nginx Helper。
一、添加模块
要实现nginx缓存,需要额外编译ngx_cache_purge模块,下文提供模块的下载链接,至于重新编译以及平滑升级,可以参考下面的文章。
[v_notice]
本站使用的Tengine,支持动态模块加载,原版Nginx需要在源码包中重新编译加入该模块
eg:
./configure ….. –add-module=/usr/local/src/ngx_cache_purge-2.3
[/v_notice]
[url href=https://pan.cloudcared.cn/f/d21ead3b388a46959b28]ngx_cache_purge-2.3.tar.gz[/url]
二、Nginx配置
建议新建 server 模块
http {
    include       mime.types;
    default_type  application/octet-stream;

    log_format  main  '$remote_addr - $remote_user [$time_local] "$request" '
                      '$status $body_bytes_sent "$http_referer" '
                      '"$http_user_agent" "$http_x_forwarded_for"';

    #access_log  logs/access.log  main;
    #access_log  "pipe:rollback logs/access_log interval=1d baknum=7 maxsize=2G"  main;
    sendfile        on;
    #tcp_nopush     on;
    #下面2行的中的wpcache路径请自行提前创建
    fastcgi_cache_path /tmp/wpcache levels=1:2 keys_zone=WORDPRESS:250m inactive=1d max_size=1G;
    fastcgi_temp_path /tmp/wpcache/temp;
    fastcgi_cache_key "$scheme$request_method$host$request_uri";
    fastcgi_cache_use_stale error timeout invalid_header http_500;
    fastcgi_ignore_headers Cache-Control Expires Set-Cookie;
    client_max_body_size 10m;
    #keepalive_timeout  0;
    keepalive_timeout  65;

    #gzip  on;

    server {
        listen 80;
        server_name yicmsky.cn; #修改为自己的域名
        index index.html index.htm index.php default.html default.htm default.php;
        root  /var/www/html/wordpress; #修改网站路径

        set $skip_cache 0;
        #post不缓存
        if ($request_method = POST) {
            set $skip_cache 1;
        }
        #动态查询不缓存
        if ($query_string != "") {
            set $skip_cache 1;
        }
        #后台等特定页面不缓存
        if ($request_uri ~* "/wp-admin/|/xmlrpc.php|wp-.*.php|/feed/|index.php|sitemap(_index)?.xml") {
            set $skip_cache 1;
        }
        location ~ [^/]\.php(/|$)
            {
                try_files $uri =404;
                fastcgi_pass  127.0.0.1:9000;
                fastcgi_index index.php;
                include fastcgi.conf;
                fastcgi_cache_bypass $skip_cache;
                fastcgi_no_cache $skip_cache;
                add_header X-Cache "$upstream_cache_status From ceshi.com";
                fastcgi_cache WORDPRESS;
                fastcgi_cache_valid 200 301 302 1d;
                root           /var/www/html/wordpress;
                fastcgi_param  SCRIPT_FILENAME  $document_root$fastcgi_script_name;
                include        fastcgi_params;

        }
        location / {
                try_files $uri $uri/ /index.php?$args;
                rewrite /wp-admin$ $scheme://$host$uri/ permanent;
         }
        location ~ /purge(/.*) {
            fastcgi_cache_purge WORDPRESS "$scheme$request_method$host$1";
        }

        location ~* ^.+\.(ogg|ogv|svg|svgz|eot|otf|woff|mp4|ttf|rss|atom|jpg|jpeg|gif|png|ico|zip|tgz|gz|rar|bz2|doc|xls|exe|ppt|tar|mid|midi|wav|bmp|rtf)$ {
                access_log off; log_not_found off; expires max;
        }

        location = /robots.txt { access_log off; log_not_found off; }
        location ~ /\. { deny  all; access_log off; log_not_found off; }
        access_log /usr/local/tengine/logs/access.log main; #日志路径
}
}
将上面配置文件中的注释的部分代码修改为自己网站的具体配置即可
三、安装插件
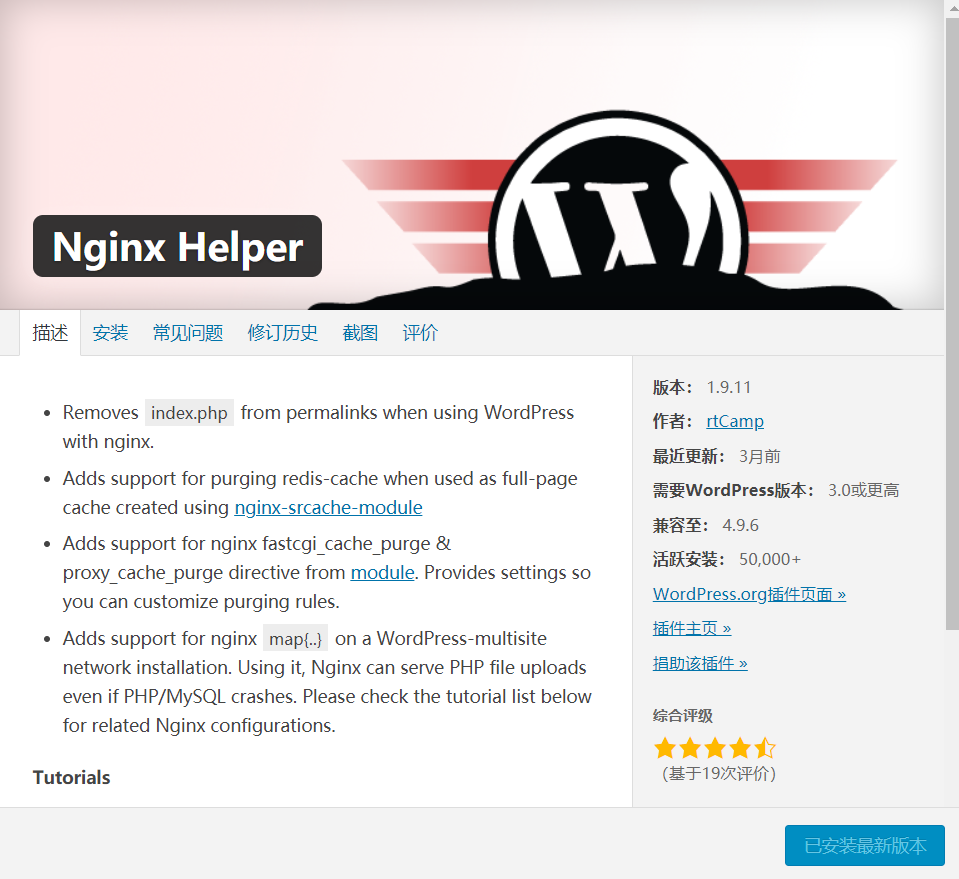
上文已经提到了 fastcgi_cache 有一个量身定做的 WordPress 缓存清理插件:Nginx Helper
所以,接下来我们就去安装这个插件 。非常简单,直接进入 WordPress 后台插件安装界面搜索 Nginx Helper 关键词在线安装即可。
WordPress后台【插件】—【安装插件】搜索【Nginx Helper】安装即可。
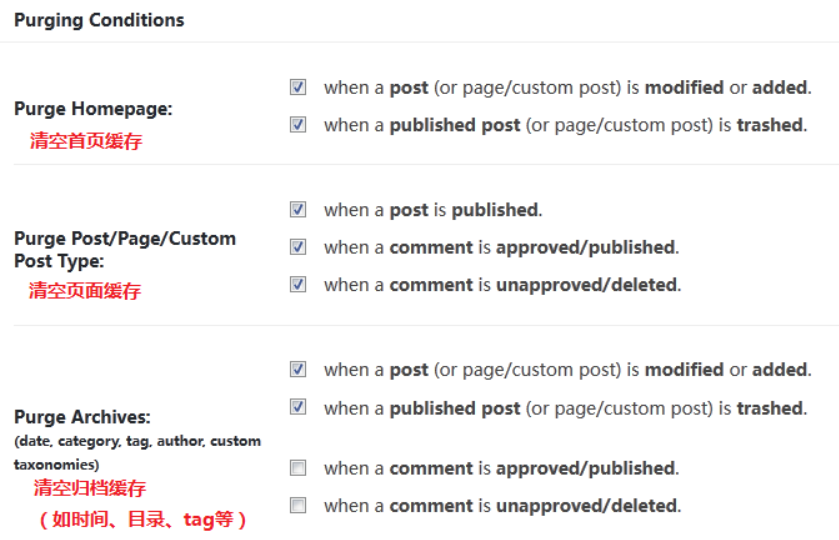
如下设置:
清理模式选择
1、purge 模式
这个模式需要保留上文 Nginx 配置中的 purge 清理路径,清理的时候会产生一个请求。
出于安全考虑,一般 purge 都不会完全开放!只有特定的 IP 可以访问,所以,如果用了 CDN 的朋友,再使用模式一,则需要在服务器上的 /etc/hosts 中将网站域名解析为服务器真实 IP,以便插件直接请求 purge 路径,而不用走 CDN 节点,避免请求被拒绝。还是没搞懂的话就放弃这个模式吧!
2、文件模式
模式二是直接清理对应的缓存文件,不需要请求 purge 这个清理路径,所以使用模式二,不需要配置上文 Nginx 的 purge 规则(我个人推荐使用这个模式)。
由于插件作者定义的缓存路径是 /var/run/nginx-cache ,而我们可能会根据服务器实际情况来自定义缓存路径,这样一来,缓存路径的不同就会导致插件无法找到缓存文件并删除!
解决办法:
很简单,在 WordPress 根目录下的 wp-config.php 中新增如下代码即可:
//根据实际情况定义缓存的存放路径
define( 'RT_WP_NGINX_HELPER_CACHE_PATH','/tmp/wpcache');
四、效果预览
1、缓存效果
替换新的配置,并且重载 Nginx 之后,访问前台页面,查看 header,会多出一个 X-Cache 标志。
X-Cache 一般会有 3 个状态:MISS、HIT、BYPASS。
- MISS 表示未命中
即这个页面还没被缓存,新发布或刚被删除的页面,首次访问将出现这个状态(图略)。
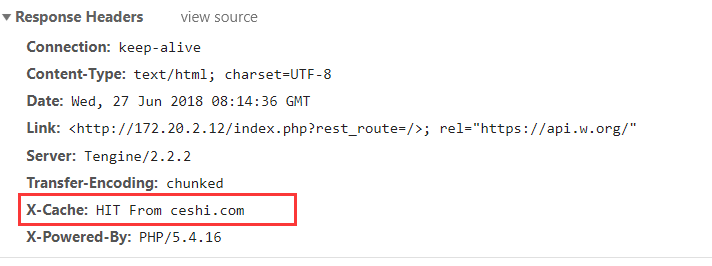
- HIT 表示缓存命中
打开一个会缓存的页面,比如文章内容 html 页面,F5 刷新几次即可在 F12 开发者模式当中的 Header 头部信息中看到如图缓存命中状态:
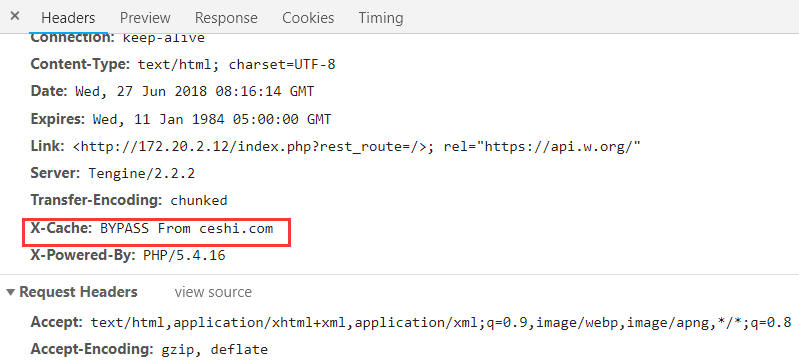
- BYPASS 表示缓存黑名单
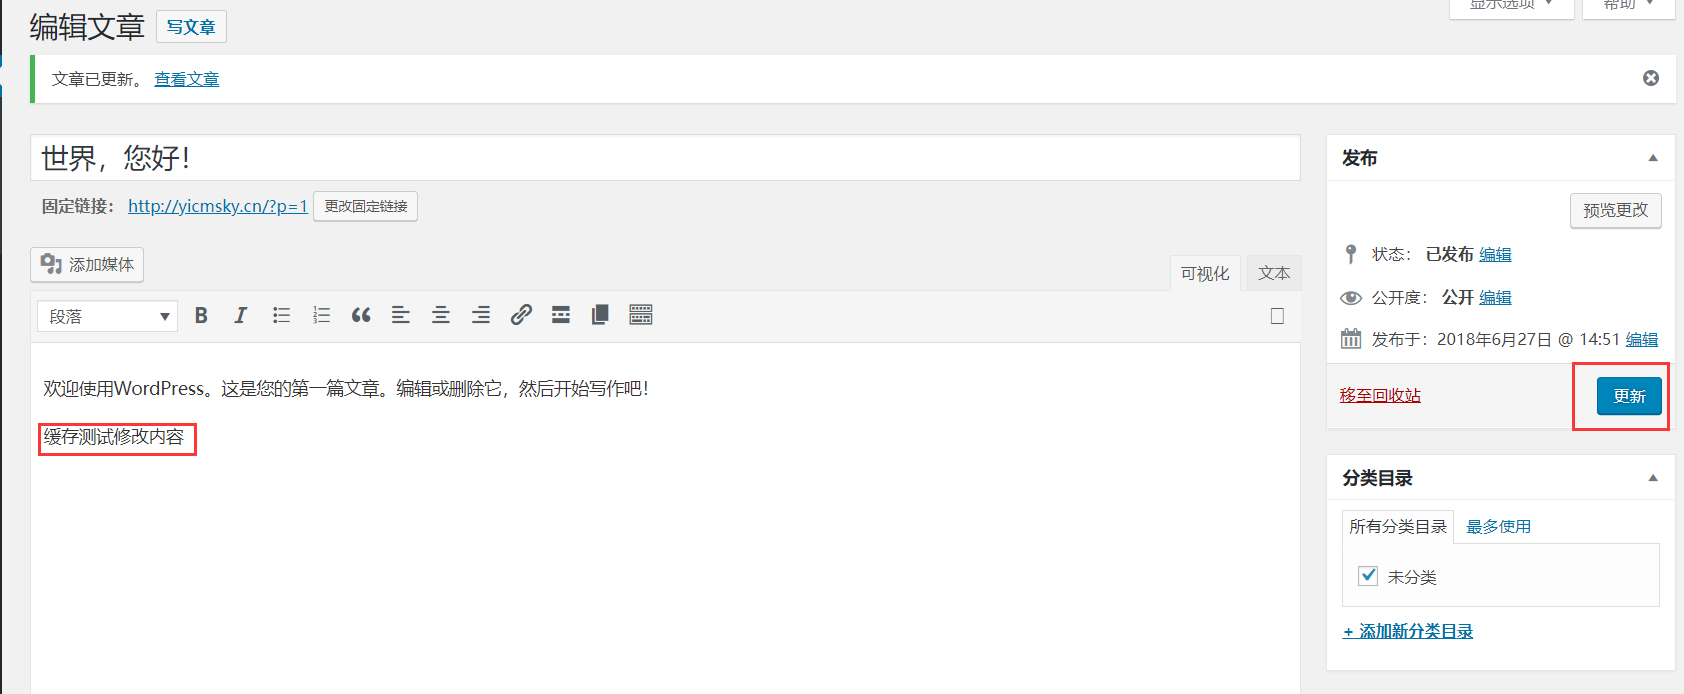
2、清理效果测试
1、首先在插件中开启日志,然后进入服务器用tail命令监控该日志
[root@172-20-2-12 wpcache]# tail -f /var/www/html/wordpress/wp-content/uploads/nginx-helper/nginx.log2、修改或发布一篇文章


